Our 18×24-inch Fasade decorative backsplash panels are available in 21 designs to work beautifully in a range of environments. Each of our unique backsplash styles is available in a wide range of fantastic colors to match any decor and current hardware and appliance finishes.
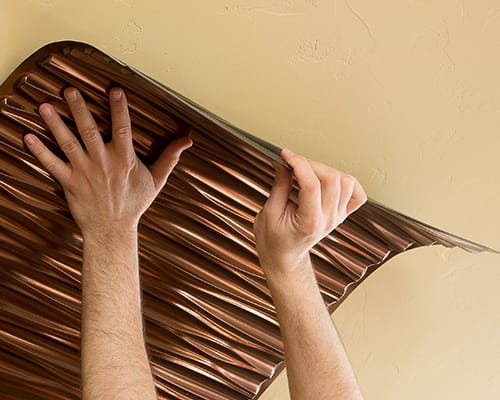
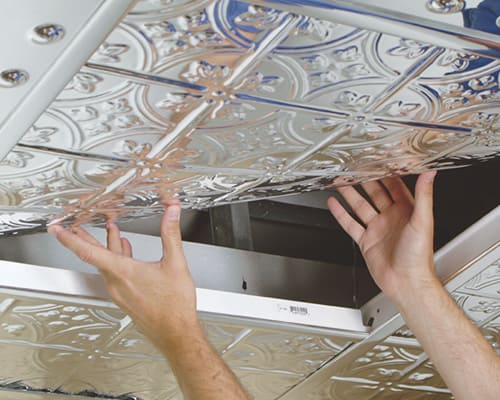
Beautiful, decorative and affordable faux tin ceiling tiles are easily installed — as glue-up panels or into new or existing ceiling grid systems. Our Fasade ceiling panels require no maintenance and are easy to clean and install. Available in 21 styles and numerous finishes for hundreds of options to fit your decor.
Our 4×8-foot Fasade wall panels are the durable and affordable way to surround yourself with style. There are numerous fantastic colors and 20 great designs.
Our Fasade matching trims allow you to professionally finish your backsplash or wall project. Each trim piece is 47 inches long and available in all our stunning wall and backsplash finishes.
If you have any questions about Fasade Panels, please complete the contact form, or call Customer Service at 1.800.434.3750 7am-4:30pm CST Monday through Friday.